Depending on your graphic design skills, perfectionism level, and available time, making scientific figures for publication could take as long as, or longer than, writing your research paper.
To save time, you might want to recycle and reuse some of the images you made for a poster or PowerPoint presentation. But tweaking them to fit the journal can be time-consuming. That’s why it’s often best to make graphics for research papers from scratch so you have publication-quality images.
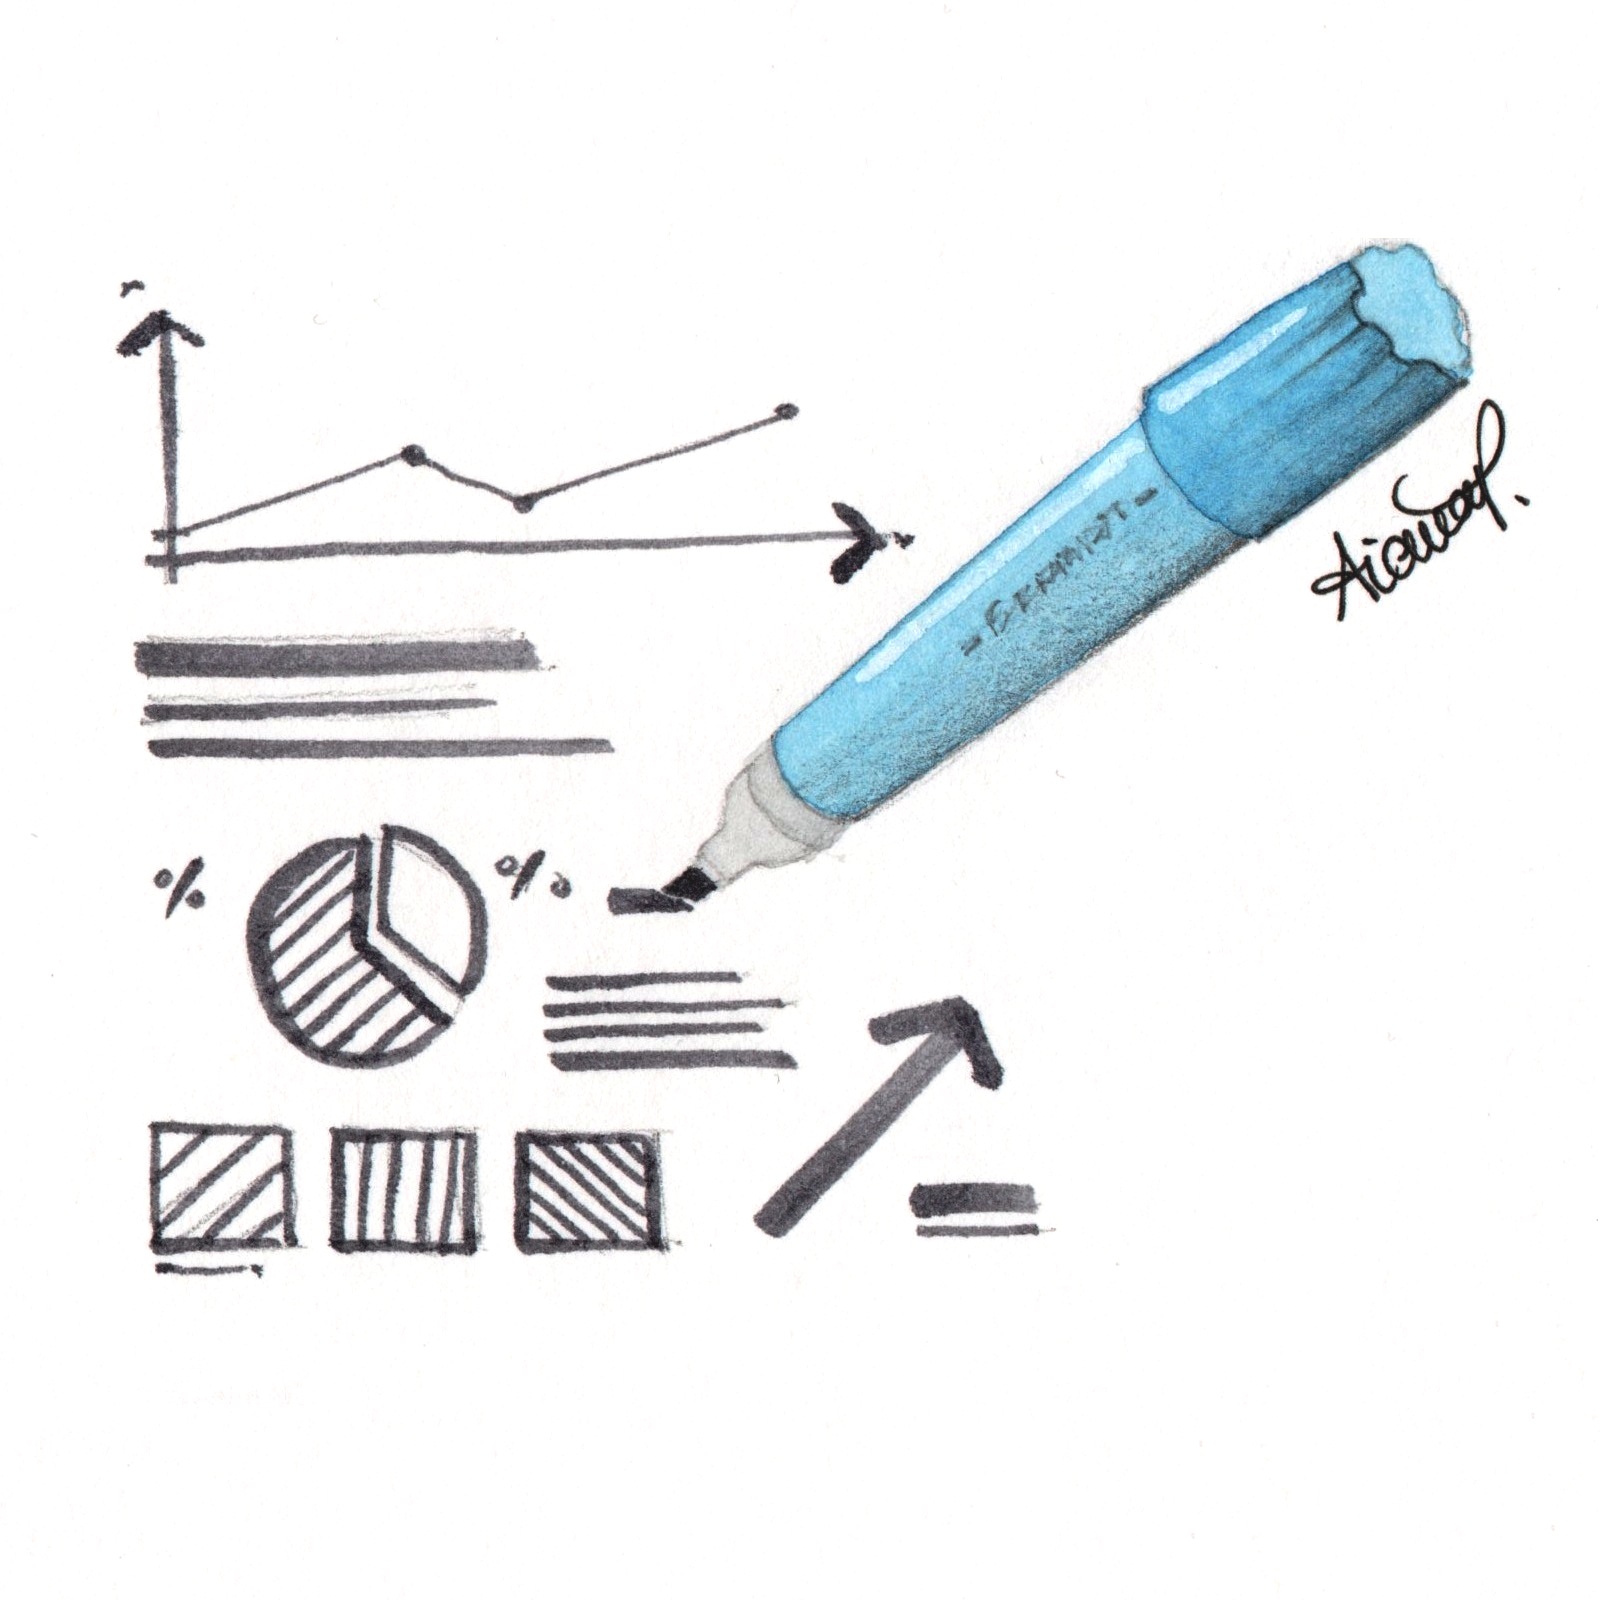
Learn how to make scientific figures for publication in an effective way.
How to make scientific figures for publication in 10 steps
A good way to prepare figures for manuscripts starts with defining the purpose of your graphics and ends with proofreading the text in the figure. Here I explain these and all the other steps in between, to give you some direction.
1. What’s the aim of the figure?
Before you even open your graphics software, you need to decide what you want the image to tell the reader. A figure is a statement that uses visual symbols—lines, colors, shapes, numbers, words—to tell a story.
So, what’s the story you want the figure to tell?
Write down the answer. Then, take a minute to consider whether the reader will understand your argument better as an image than as text. If the answer is yes, go ahead to step 2.
2. Select the essential info for manuscript figures
The next step is selecting the information you need to include in your figure.
The reader expects to take in almost all the information in a figure at a glance. So, select only what you need to prove your point. You can add more details in the appendix or supplemental data of your scientific paper.
Consider the information in all parts of the figure. Think about the labels, text, and caption. Use descriptive captions and titles, but keep them as concise as possible. The title helps the reader identify a figure. The caption explains what’s in the figure.
Resist the urge to tell your readers what they don’t need to know. Cut “chartjunk” and keep captions simple to make good scientific figures.
3. Choose the type of figure for your scientific manuscript: line art vs. image
Compare the various types of figures and decide which one serves your purpose best.
Many journals classify figures into two major types: line art and images. Line art includes graphs, charts (bar charts, pie charts, flowcharts, etc.), and diagrams (like logical trees), among others. Images include photos, drawings, and graphical representations other than line art.
Choose one type of figure or a combination of more types. For example, in geology a combination of field photographs and line drawings is very useful.
4. Put pencil to paper and make a sketch
Forget software for now. Instead, make a sketch on paper. Even if you have no drawing skills, your paper sketch will likely save you precious hours tweaking a digital image.
Once you’ve got a sketch, think about your aim again. Is the image effective in telling your story (see step 1)? At this point, it’s wise to ask a colleague’s opinion. Get feedback and use it to improve your sketch.
5. Choose the graphics software for preparing manuscript figures
You’re now ready to choose the software for your manuscript figures. You might already have a graphic design program installed on your work computer. Or you might prefer to use open-source graphic design software so you can install it on your home computer as well.
Here’s how to make scientific figures for publication when you’re short on time: use the software you’re comfortable with and already know how to use. Learning how to use new graphic design tools while preparing figures for manuscripts can make this task take forever. For example, I used CorelDRAW for my whole time in academia just because it was the first graphics software I learned to use. It wasn’t as advanced as Adobe Photoshop or Illustrator, but it did the trick.
6. Understand the basics of graphic design
Any graphics software will do the bulk of the work for you. But you still have to know the basics of graphic design to make scientific figures for publication. Two of the concepts you need to understand are image quality and color mode.
Raster vs. vector graphs
Image quality depends on the type of graphs: raster or vector.
Raster graphs store information as pixels. When you zoom in, your figure loses quality. An example of a raster graph is a TIFF file. Vector graphs store information as objects. When you zoom in, the quality remains the same. An example of a vector graph is a PDF image.
Should you use raster or vector graphs for scientific figures? It depends on the type of figures you will need for your manuscript. Use raster graphs (TIFF, PNG, EPS, JPG) for images with no text or graphs. Use PDF or EPS for line art (for example, diagrams).
CMYK vs. RGB
The second concept is color mode. Color images can be one of two modes: CMYK or RGB. CMYK images look best on paper; RGB images look best on screen.
Submit RGB files to journals, unless they ask for CMYK. If the journal has a print version as well as an online edition, the journal’s designers will convert your RGB images to CMYK once your paper is accepted.
You’ll be able to choose the color mode when you save the file in your graphic design program.
7. Check the details (file type, resolution, size, etc.) of your manuscript figures
In a figure with the right size and resolution all the symbols are legible, whether you look at the figure on paper or on screen.
In general, reputed journals have detailed guidelines on how to make scientific figures for publication. If you don’t have detailed guidelines, choosing the figure size for manuscripts can be a hassle. Deciding the best letter font and size for figures can also make you waste time. The following tips can help you prepare the figures for your research paper:
Manuscript figure font size and type
- Use standard sans serif fonts for text. Examples are Arial, Helvetica, and Calibri.
- All words and other symbols should be large enough to be legible. In general, this means you need a font size of at least 8 points.
- Ensure the font typeface, as well as its size, is consistent across figures.
Manuscript figure resolution
- The minimum resolution for line art should be 1000–1200 dpi.
- Figure resolution should be around 300 dpi for color images and 600 dpi for grayscale images.
- For manuscript figures that combine photos with line art, aim for around 600 dpi.
Figure size for scientific publications
- The canvas width for small figures (half page width) should be at least 8 cm.
- The canvas width for large figures (whole page width) should be 17–18 cm.
- The maximum height for the figure and its caption should be 22.5 cm.
Graphic files can become behemoths very fast. Working with huge files doesn’t just lead to your program crashing or becoming very slow. It can also make it impossible to upload the file to the journal’s system when you submit your manuscript. So, learn how to reduce manuscript figure size in your graphics software. As a rule of thumb, aim for up to 10 MB per figure.
Manuscript file format for images
- If you have vector figures, save them as PDF. It usually takes less space than an EPS file.
- Save TIFF files with LZW compression, because it doesn’t affect image quality.
- Save JPEG files with the maximum quality your software allows.
8. Avoid image manipulation
Most scientific journals emphasize that authors need to keep image manipulation techniques to a minimum. For example, Nature says, “the final image must correctly represent the original data and conform to community standards.”
Some degree of graphic editing is usually acceptable (for example, if applied uniformly across the whole image, such as making the image brighter or dimmer). But excessive “Photoshopping” of manuscript images can misrepresent the information.
Journals may also ask for a copy of the original image, so keep the unaltered figure in a separate file.
9. Secure permission to borrow images from other publications
If you want to use some images from other publications in your manuscript, you must get permission from the copyright holder. This is your responsibility, not the publisher’s. Many journals say, “Permission should be indicated in the figure legend, and the original source included in the reference list.”
Here you can find more information about permissions to use figures in scientific papers:
- Fair use copyright in the United States
- Fair use copyright in Canada
- Fair use copyright in Australia
- Creative Commons and copyright
10. Proofread the figures in your scientific manuscript
You’ve finished the figures for your manuscript and are ready to upload them to the journal’s online editorial manager. Don’t skip the last step of this guide on how to make scientific figures for publication: proofreading the text in the figures.
Don’t rely on the graphics software’s spell-checker. Check the text yourself, or ask someone to proofread it for you.
It’s easy for authors to forget about checking the text in manuscript figures. And that’s where the most hideous, and the most hilarious, typos will find a cozy home. You don’t want your figure to say “turkey treatment plants” instead of “turnkey treatment plants”, or “salt diaper” instead of “salt diapir”. So, proofread, proofread, proofread.
How to make figures for manuscript submission without professional help
In public universities, research funding is tight. So, most university academics can’t afford to work with a professional illustrator. They’ll have to become good enough at graphic design to produce professional-looking figures for manuscripts without expert advice.
If you need to rely on your own resources to make scientific figures for publication, seek help. Talk to other researchers who’ve published a lot, ask the advice of a friend who knows more about graphic design than you do, and use free resources like this 10-step guide on how to make scientific figures for publication.
Do you need a proofreader for your scientific manuscript? Send me a message at editor@languageediting.com.
Related posts:
- Publishing economics papers: Advice from the experts
- Writing geoscience papers: A list of useful resources
- What to do if the journal editor recommends English language editing services
Last revised on 1 November 2023